How to Start a Shopify Store? (Step-by-Step Guide for Beginners)


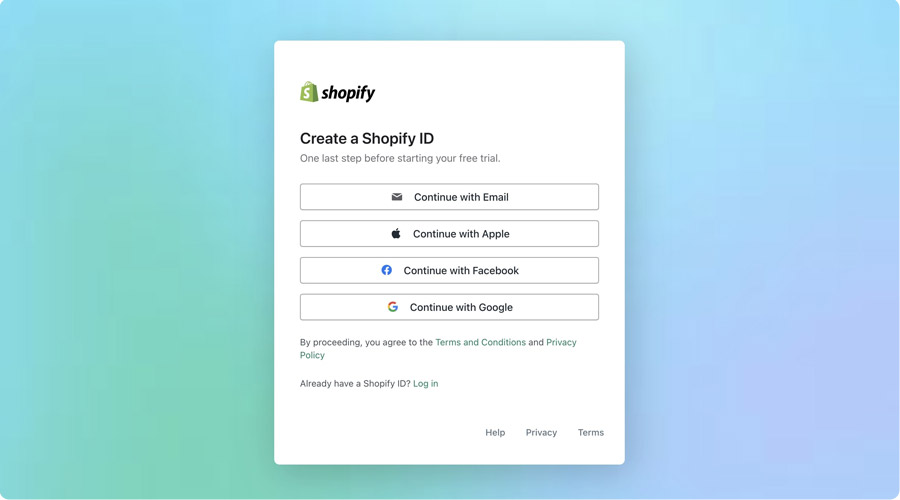
Imagine getting to start your dream online business, able to customize every detail and design every nook and cranny, and WITHOUT A LINE OF CODE! This is exactly what Shopify promises its users: kick-starting an online store and putting your products and starting to sell right away! But to really succeed here, you’ll need to have a deep understanding of how to start a shopify store, how to run it through time and get a hold of being an online business-person, even from home!

If you’re taking the first steps in the journey of Shopify, here’s a full guide for you: starting from how to launch shopify store, budgeting, best practices and all the -very much- needed information. Let’s dive into it!

Why Choose Shopify to Start Your Online Store?

Shopify is one of the easiest ways to bring your online store to life, especially if you’re just starting out. Here’s why:

  • No tech headaches: You don’t need to know how to code or design. Shopify’s drag-and-drop builder makes it simple.
  • Everything in one place: From payments and shipping to inventory and marketing, it’s all built-in.
  • Scales as you grow: Whether you’re starting small or aiming big, Shopify grows with your business.
  • Secure and reliable: Your store comes with hosting, SSL certificates, and automatic updates, no extra effort needed.
  • 24/7 support: Real humans are available whenever you need help.
  • Massive app ecosystem: Thousands of apps and integrations let you customize your store to fit your exact needs.
  • Trusted by millions: Shopify powers over 4 million businesses around the world.

How to Start a Shopify Store: Step-by-Step Tutorial

It takes less than half a day, but the small decisions you make in the beginning, can determine a lot about your businesses positions and profitability in the future. Here’s the detailed, step by step guide on how to start a shopify store for beginners:

Step 1 – Sign Up for Shopify

  • Go to shopify.com and click “Start for free”.
  • You’ll be asked to enter your email, create a password, and choose your store name (don’t worry, you can change it later).

Shopify offers a 3-day free trial, followed by a $1/month offer for the first 3 months on most plans (as of 2025).
Once inside, you’ll land in your Shopify dashboard: The main control center where you’ll manage everything: products, orders, themes, apps, and more.

Step 2 – Choose a Store Name & Domain

  • Pick a name that’s easy to remember, matches your brand, and is available as a domain.
  • In the Shopify admin, go to Settings > Domains to:
    • Buy a custom domain directly from Shopify (an easy and seamless process).
    • Or connect one you already own (from sites like GoDaddy or Namecheap).
  • Your store will start with a storename.myshopify.com URL, but having a branded domain looks more professional.

Step 3 – Pick a Theme and Customize Your Store

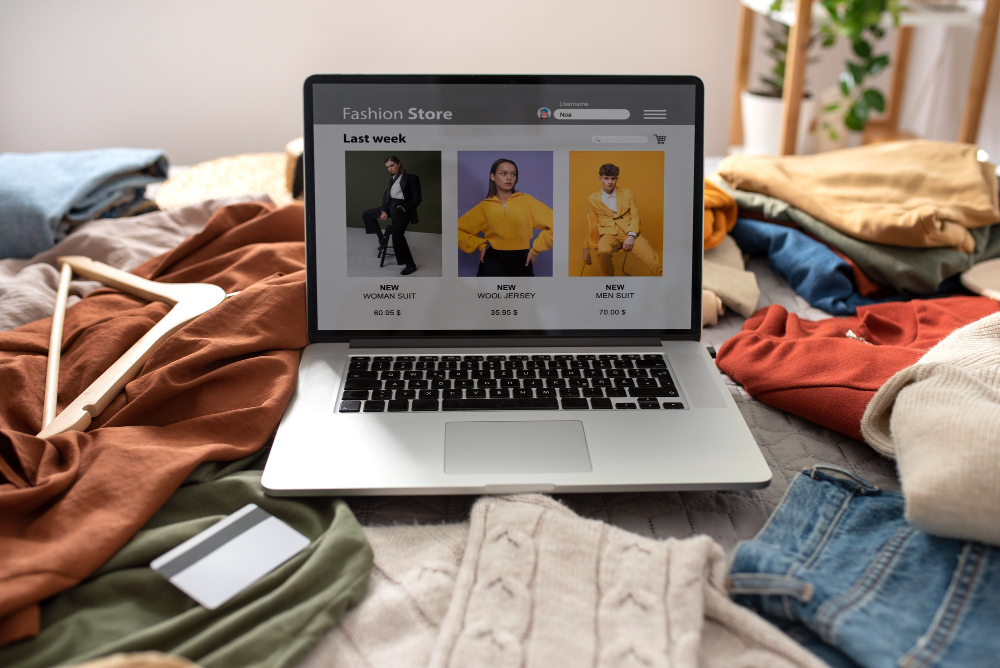
Here’s where the fun starts! Go to Online Store > Themes and explore the Shopify Theme Store.

  • Start with a free theme like Dawn, which is clean, responsive, and customizable.
  • Use the Theme Editor (drag-and-drop style) to tweak:
    • Logo and brand colors
    • Homepage layout
    • Fonts, images, and section order
  • No coding required, though advanced users can edit theme code if needed.


Step 4 – Add Products to Your Store

  • In your dashboard, go to Products > Add product.
  • For each product, you can:
    • Add a title, description, and price
    • Upload images (high-quality photos work best!)
    • Set inventory quantity and SKU
      Add product options (like sizes or colors)
  • You can create collections too — like “New Arrivals” or “Best Sellers.”

You don’t need tech skills to launch!

Shopify handles the heavy lifting.

Just start with one product,

one page,

one goal.

Step 5 – Set Up Payments and Taxes

  • Go to Settings > Payments to choose your payment provider.
  • Shopify Payments (available in many countries) is the easiest, it lets you accept credit cards, Apple Pay, Google Pay, etc.
  • You can also connect PayPal or third-party gateways like Stripe.
  • For taxes, Shopify can automatically calculate sales tax based on your region. Just head to Settings > Taxes and duties, and follow the guided setup ( Always check local laws or talk to a tax professional for compliance).

Step 6 – Configure Shipping Settings

  • Go to Settings > Shipping and delivery.
  • You can set:
    • Flat rates (e.g., $5 shipping across the board)
    • Free shipping
    • Real-time rates (from USPS, DHL, etc., if you connect a carrier)
  • Shopify lets you customize rates by region, weight, or order value.
  • Don’t forget to test international settings if you plan to ship globally.

Step 7 – Set Up Essential Store Pages

Besides your product pages, you’ll need a few core pages to build trust:

  • About: Share your brand story.
  • Contact: Let customers reach you.
  • FAQ: Answer common questions up front.

Also, add your legal pages under Settings > Policies:

  • Privacy Policy
  • Refund Policy
  • Terms of Service
  • Shipping Policy (optional but helpful)

Step 8 – Preview and Test Your Store

Everything’s almost done. But before going live:

  • Click Online Store > Preview to see how your site looks on desktop and mobile.
  • Use Shopify’s Bogus Gateway to place a test order and check the full customer journey — from browsing to checkout to confirmation.
  • Double-check:
    • Add to cart functionality
    • Discount codes
    • Shipping settings
    • Mobile responsiveness

Step 9 – Launch Your Shopify Store

  • When everything’s ready, go to Settings > Plan and choose a subscription.
  • Remove your storefront password under Online Store > Preferences (scroll to “Password protection”).

Enable checkout, and you’re officially open for business!

How to Start a Shopify Store With No Money

It’s totally possible to start your Shopify journey without spending a dime upfront. Here’s how to get started smart:

  • Leverage Shopify’s free trial
    Sign up and explore everything without paying. Shopify’s 3-day free trial (plus $1/month for 3 months after) gives you time to build and test before investing.
  • Use free themes
    Shopify offers beautifully designed free themes like Dawn that are mobile-friendly and fully customizable, no design costs needed.
  • Add products through dropshipping
    Connect apps like DSers or Zendrop (which often have free plans) to sell products without buying inventory upfront. You only pay when you make a sale!
  • Budget for essentials late
    Start lean, learn as you go, and invest in extras (like custom domains or paid apps) once your store starts bringing in sales.
 

ARE YOU READY?

Over 4.4 million stores run on Shopify

many started with zero experience!

Best Practices to Run a Shopify Store After Launch

Launching your store is just the beginning, keeping it healthy and growing is the real game. Here are some solid habits to build from day one:

  • Keep your inventory updated: Avoid selling out-of-stock products or disappointing customers. Use Shopify’s built-in inventory tools or apps for better tracking.
    Example: Allbirds updates product availability in real time to avoid overselling.
  • Track your analytics: Regularly check your Shopify Analytics and connect Google Analytics 4 to monitor traffic, top products, and conversions.
    Example: Gymshark uses data to tweak product pages and increase conversion rates.


  • Start email marketing early: Collect emails from day one and use a free tool like Shopify Email or Klaviyo to send welcome emails, cart reminders, and product updates.
    Example: Beardbrand built strong loyalty through personal, story-driven emails.
  • Provide excellent customer support: Respond quickly, be helpful, and build trust. Use tools like Shopify Inbox for live chat or connect Gorgias for multichannel support.
    Example: Fashion Nova’s quick replies and returns process help retain first-time buyers.

FAQ

Do I need a business license to start?

Not always. You can start without one, but check local laws if you’re collecting taxes or running ads.

You can launch in a day, but most stores take 3–7 days to set up and test properly.

Yes! Use dropshipping apps like DSers or Printful, you sell products, and suppliers handle shipping and stock.

Absolutely. It’s built for beginners with drag-and-drop tools, templates, and tons of tutorials if you ever get stuck.

Scroll to Top